Well you can! And you should. Pollinator Hotels provide essential habitat for cavity-nesting insects like mason bees and leafcutters, as well as other beneficial critters like spiders, ladybugs, and butterflies. You'll get to watch this mini-ecosystem unfold in your backyard, observing first hand its life cycles, food chains and day to day goings-on. Your hotel can be tidy and symmetrical, or thrown together with wild abandon. You can build them to suit your fancy, changing features and adding on over the years. And with a little ingenuity and a bit of time spent gathering materials, they're inexpensive and easy to put together.
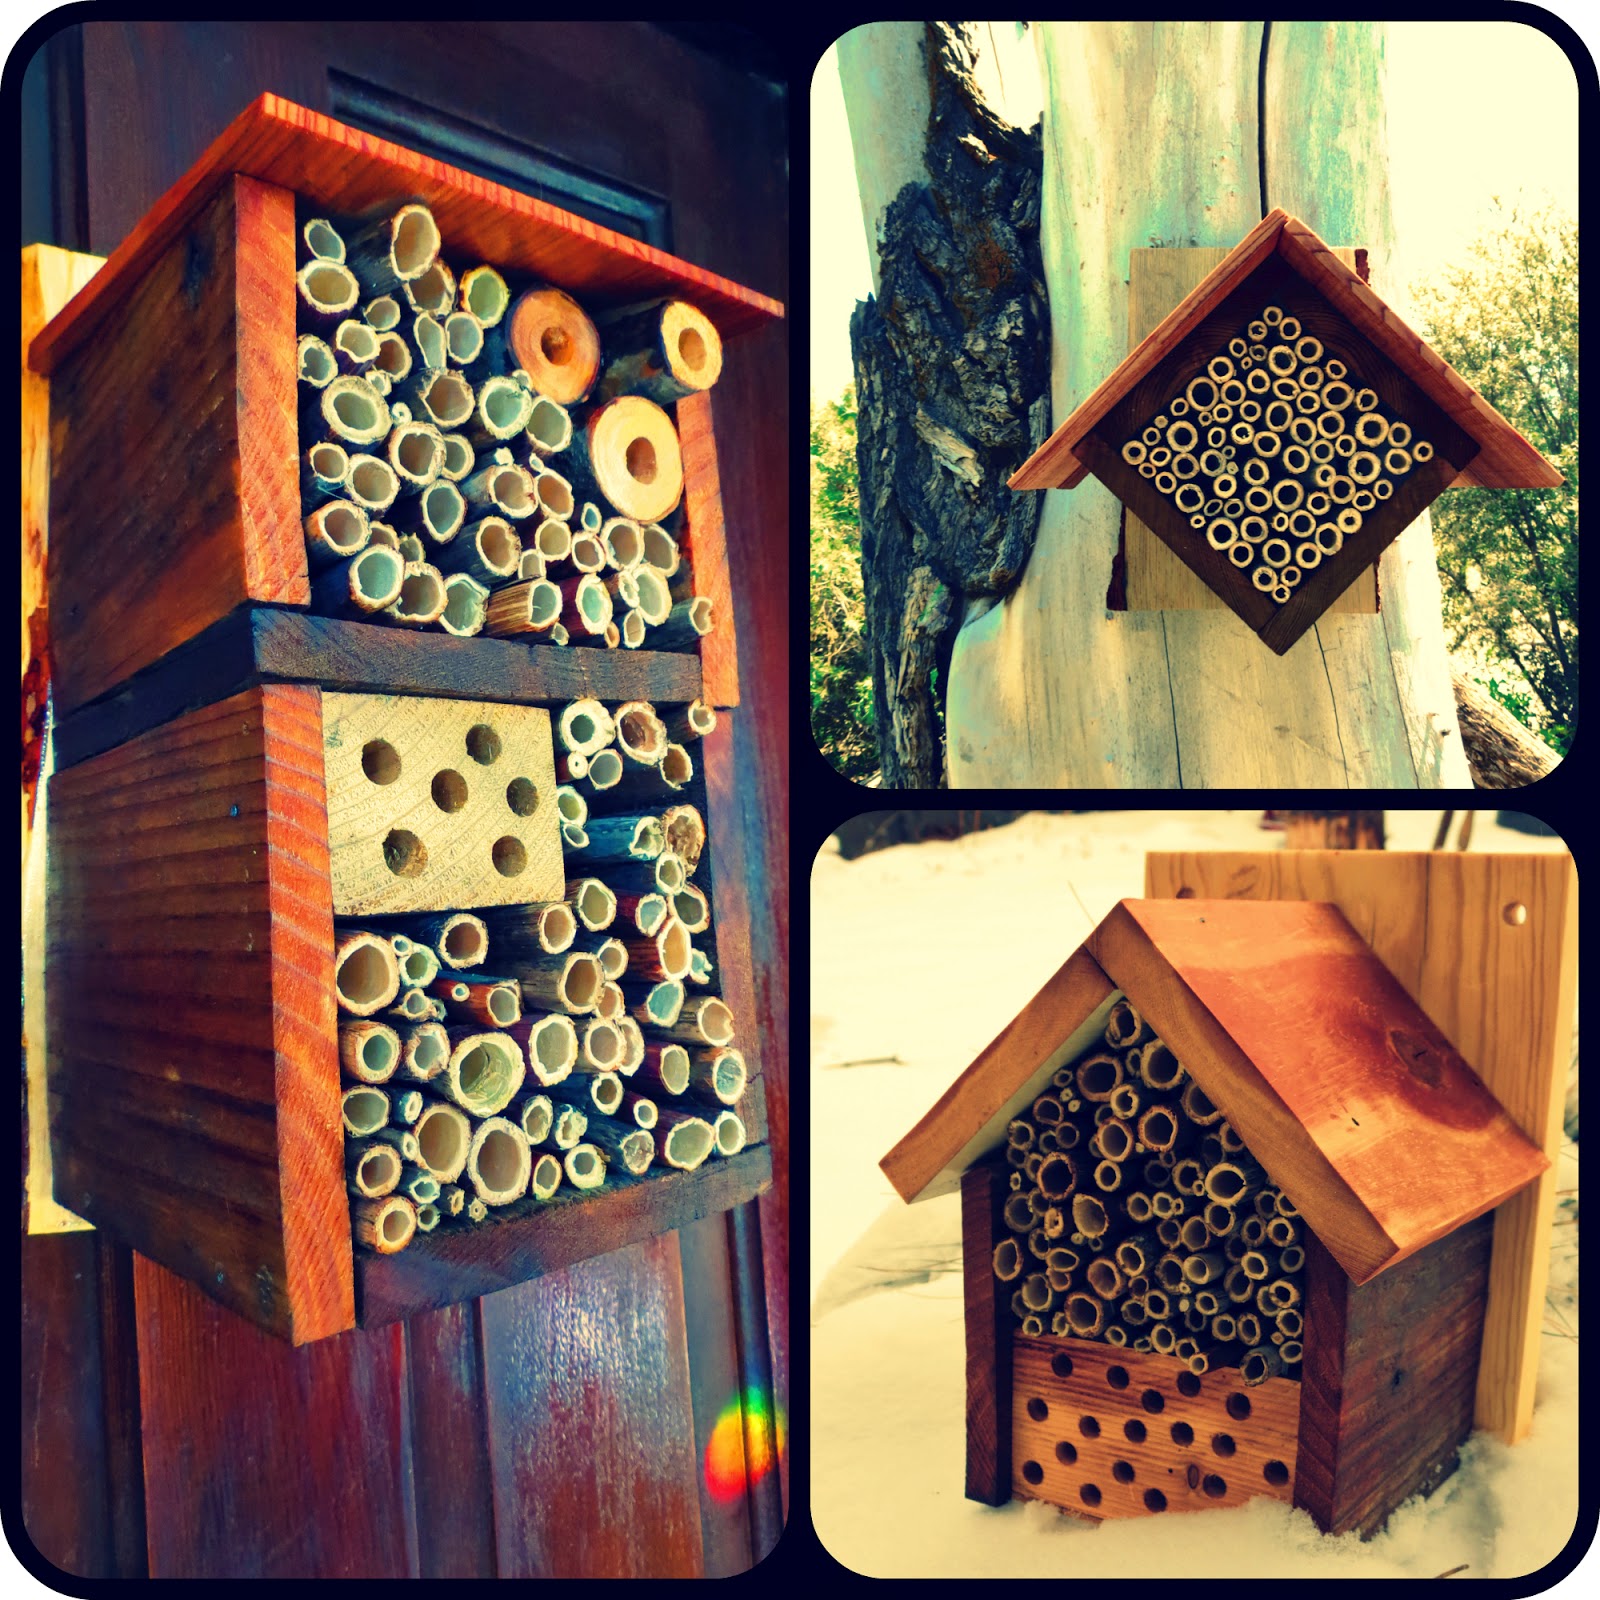
I build these wild bee houses using salvaged fenceboards and shingles, blue-stain lumber milled from trees killed by bark beetles, and whatever else scraps I can find. (If you want to buy one, here's my Etsy Shop!)
 You can also expand on this idea and install a Pollinator Hotel on-site. We did this recently as part of the Homestead Hey Day spring celebration at the historic Moon-Randolph Homestead in Missoula. Volunteers pooled their craftsmanship and creativity, using scrap wood from around the ranch, locally gathered natural materials and hand tools to build a beautiful and functional house for helpful bugs. We've still got some finishing touches to do, drilling holes in the logs and stuffing crevices with bee tubes, but for one happy afternoon's work, it turned out pretty incredible.
If you want to build your own you'll want to follow just a few basic guidelines. Here are some tips to help you get started.
You can also expand on this idea and install a Pollinator Hotel on-site. We did this recently as part of the Homestead Hey Day spring celebration at the historic Moon-Randolph Homestead in Missoula. Volunteers pooled their craftsmanship and creativity, using scrap wood from around the ranch, locally gathered natural materials and hand tools to build a beautiful and functional house for helpful bugs. We've still got some finishing touches to do, drilling holes in the logs and stuffing crevices with bee tubes, but for one happy afternoon's work, it turned out pretty incredible.
If you want to build your own you'll want to follow just a few basic guidelines. Here are some tips to help you get started.
1. Build a frame
Anything goes, pretty much! You might want to sketch out a plan before you begin. How big? Do you want formal rows of tubes and drilled holes, or rustic compartments of natural materials? Will it be built on posts, or hanging? Do you want to stack materials so the hotel can be dismantled and rebuilt easily, or do you want a frame that's held in place by screws...or cement, or...? Do you want to include spaces to put soil and grow live plants on the structure? If so, you might want to put them down low so you can water without drenching your insect nesting materials.

Whatever you decide, remember that native bees need one end of their nesting cavity closed. If you're using completely hollow tubes, you'll want to put a backboard of some sort up. If you're drilling holes through logs, you can opt to not drill all the way through (for example, drill a 6" deep hole in a 7" deep log). I personally recommend drilling all the way through and putting up a backboard, however. That way if you ever decide to clean out your bee holes, it's much easier.
2. Put it in the right place
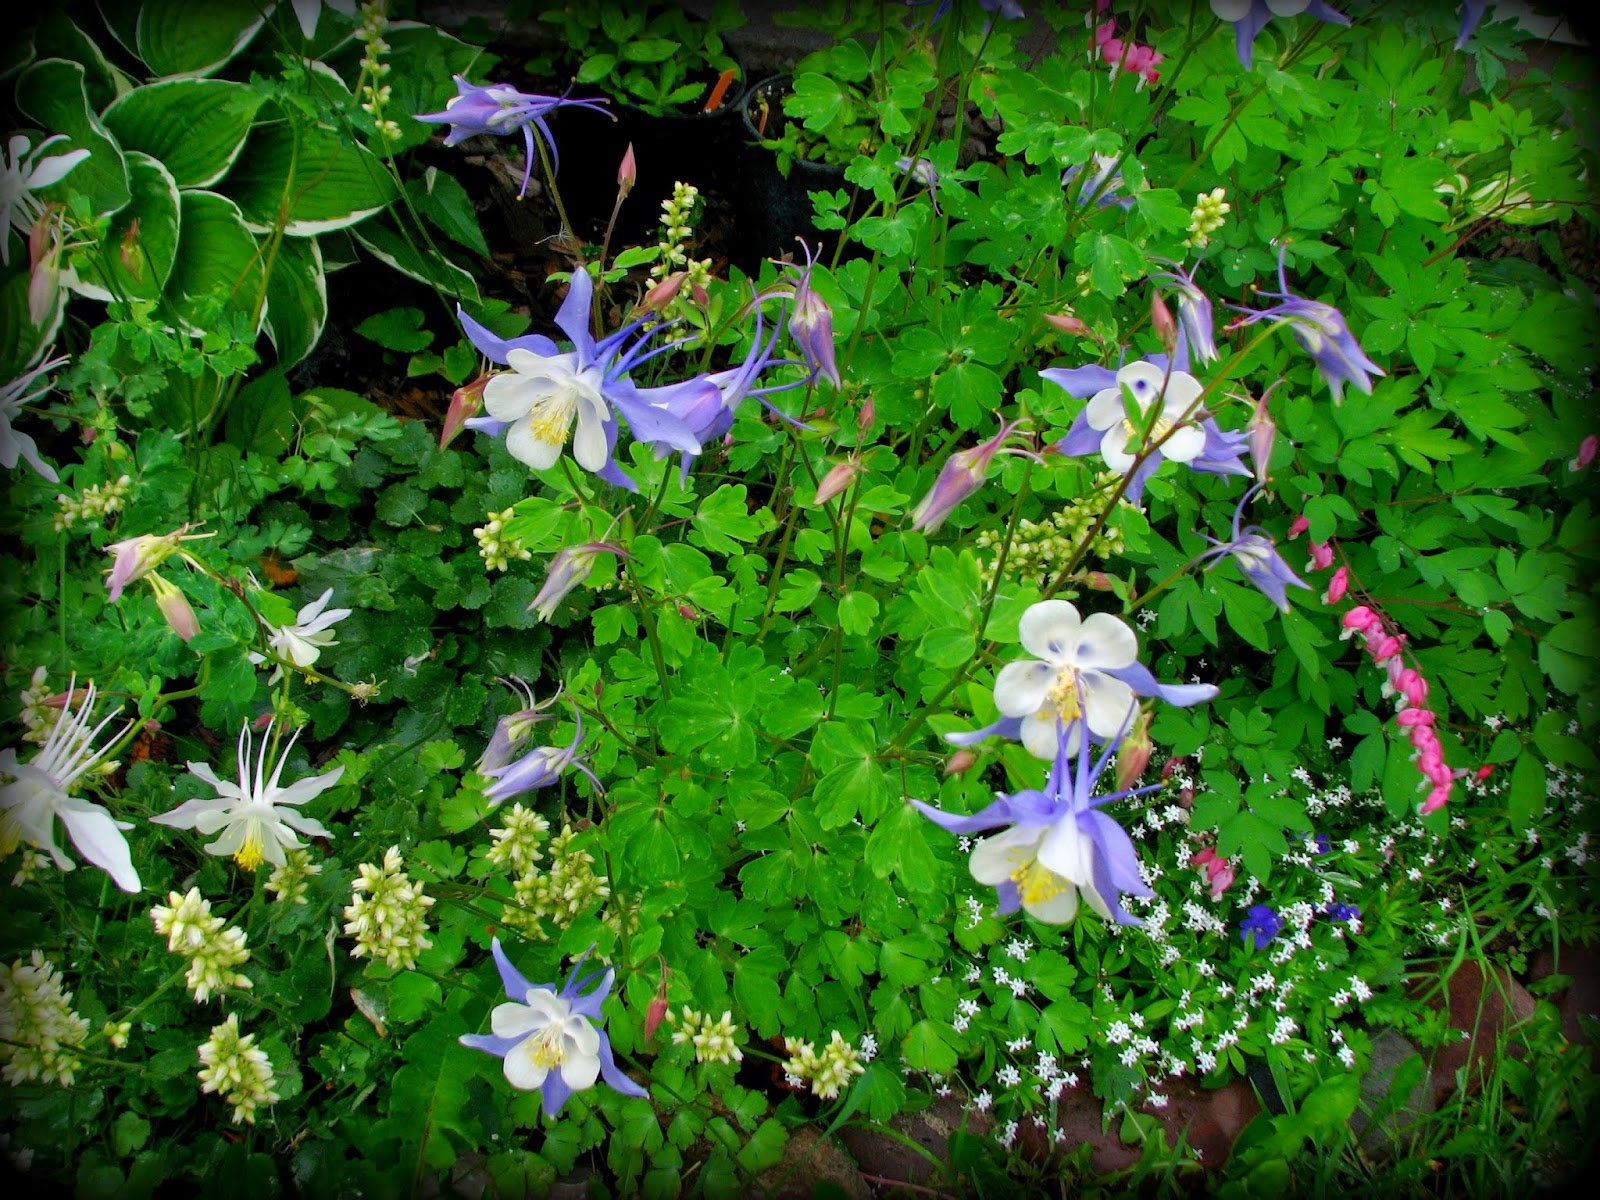
 You'll want to locate your Pollinator Hotel in a place that's at least somewhat shielded from heavy wind and rain. Face the opening to the south or east so it gets plenty of warm morning sun. If you live in a really hot sunny location, some afternoon shade in midsummer is helpful too. Raising the frame off the ground a few feet deters ants, who have been known to sneak in and steal the pollen reserves left for developing larvae. Just don't put it so high that it's out of insects' normal flight paths. Somewhere between 4-8' off the ground is ideal. And make sure the insects have access to a source of food (pollen from trees, shrubs, flowers or vegetables within a couple hundred yards), water and mud, which mason bees use to line their brood cells. We located ours at the edge of the vegetable garden, facing out towards an ancient orchard. The early spring flowers of fruit trees are perfect for mason bees (also known as blue orchard bees). Remember that, once you start to fill in your frame, it will get heavy, so you might want to get it in place beforehand.
 3. Provide nooks and crannies
The idea is to mimic the natural nesting sites of insects in the wild. This helps mitigate the effects of habitat destruction as native ecosystems give way to concrete, asphalt and (gasp!) turf grass. So build one for environmental stewardship and conservation! But also do it for yourself. Attracting a diverse array of native insects to your yard and garden leads to a healthier ecological balance (thus reducing insect pests), better pollination of your fruits, flowers and veggies, and an awesome opportunity to observe these fascinating creatures up close.
Try to provide a diversity of cracks and crevices to accommodate different nesting habits. Ladybugs, beetles, lacewings, beneficial spiders, moths and butterflies all seek shelter to raise their young and overwinter, and many native bee species nest in hollow tubes and cavities. Use different sized sticks, dead flower stalks (sunflowers work great), straw, pine cones, dry grasses and pieces of bark to fill compartments. Avoid wood that's been treated or recently varnished.
3. Provide nooks and crannies
The idea is to mimic the natural nesting sites of insects in the wild. This helps mitigate the effects of habitat destruction as native ecosystems give way to concrete, asphalt and (gasp!) turf grass. So build one for environmental stewardship and conservation! But also do it for yourself. Attracting a diverse array of native insects to your yard and garden leads to a healthier ecological balance (thus reducing insect pests), better pollination of your fruits, flowers and veggies, and an awesome opportunity to observe these fascinating creatures up close.
Try to provide a diversity of cracks and crevices to accommodate different nesting habits. Ladybugs, beetles, lacewings, beneficial spiders, moths and butterflies all seek shelter to raise their young and overwinter, and many native bee species nest in hollow tubes and cavities. Use different sized sticks, dead flower stalks (sunflowers work great), straw, pine cones, dry grasses and pieces of bark to fill compartments. Avoid wood that's been treated or recently varnished.
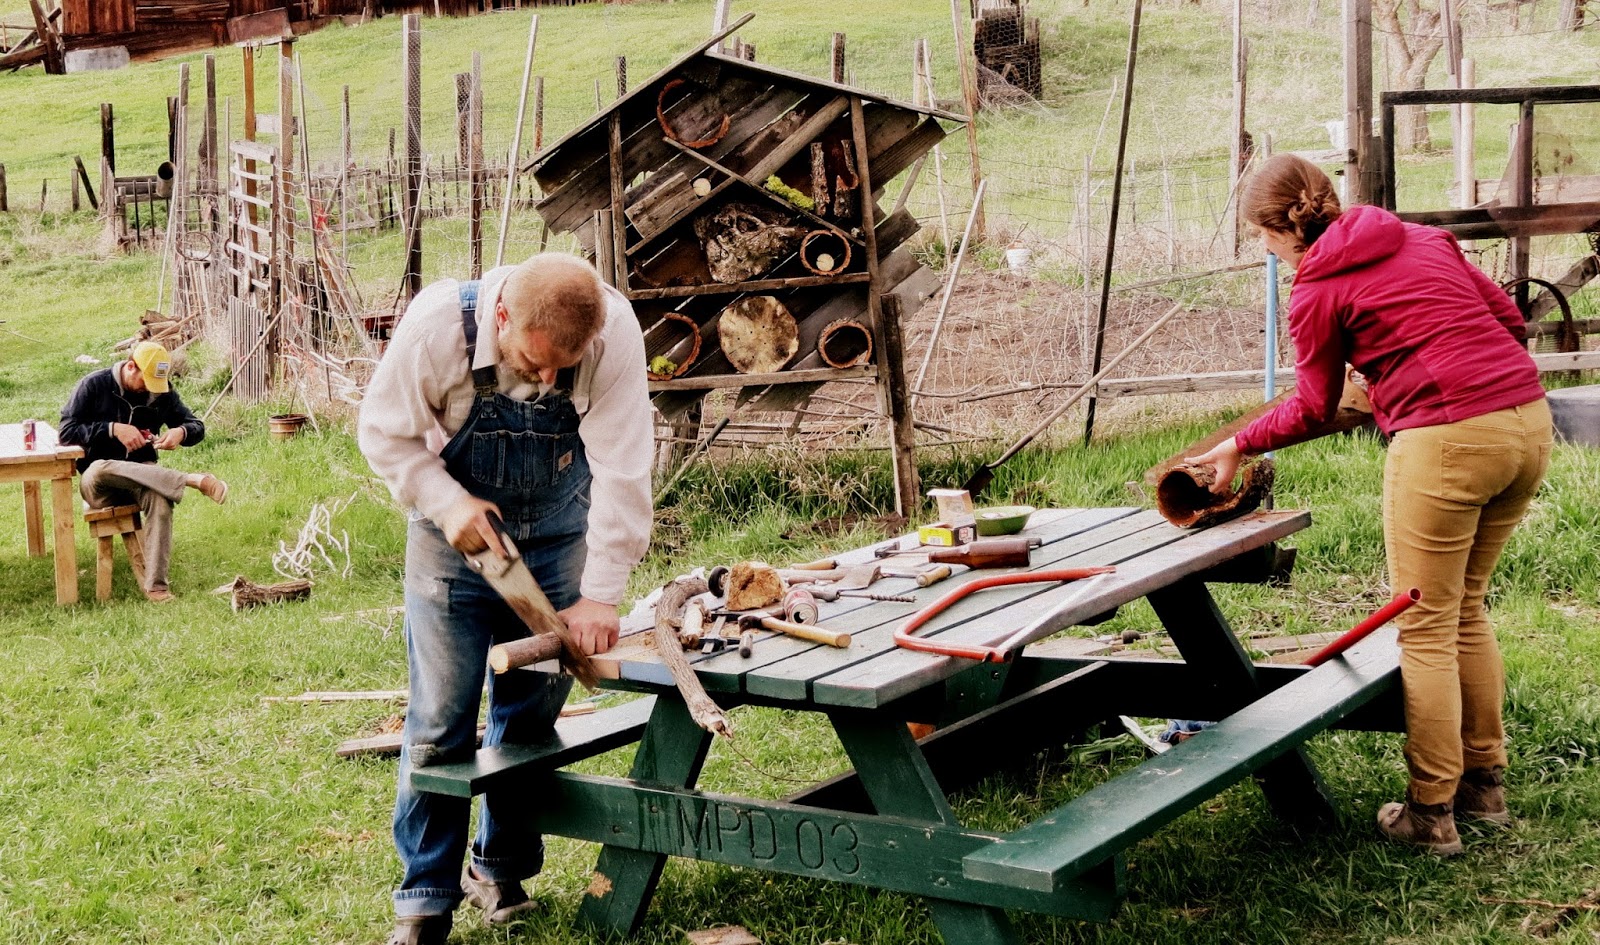 |
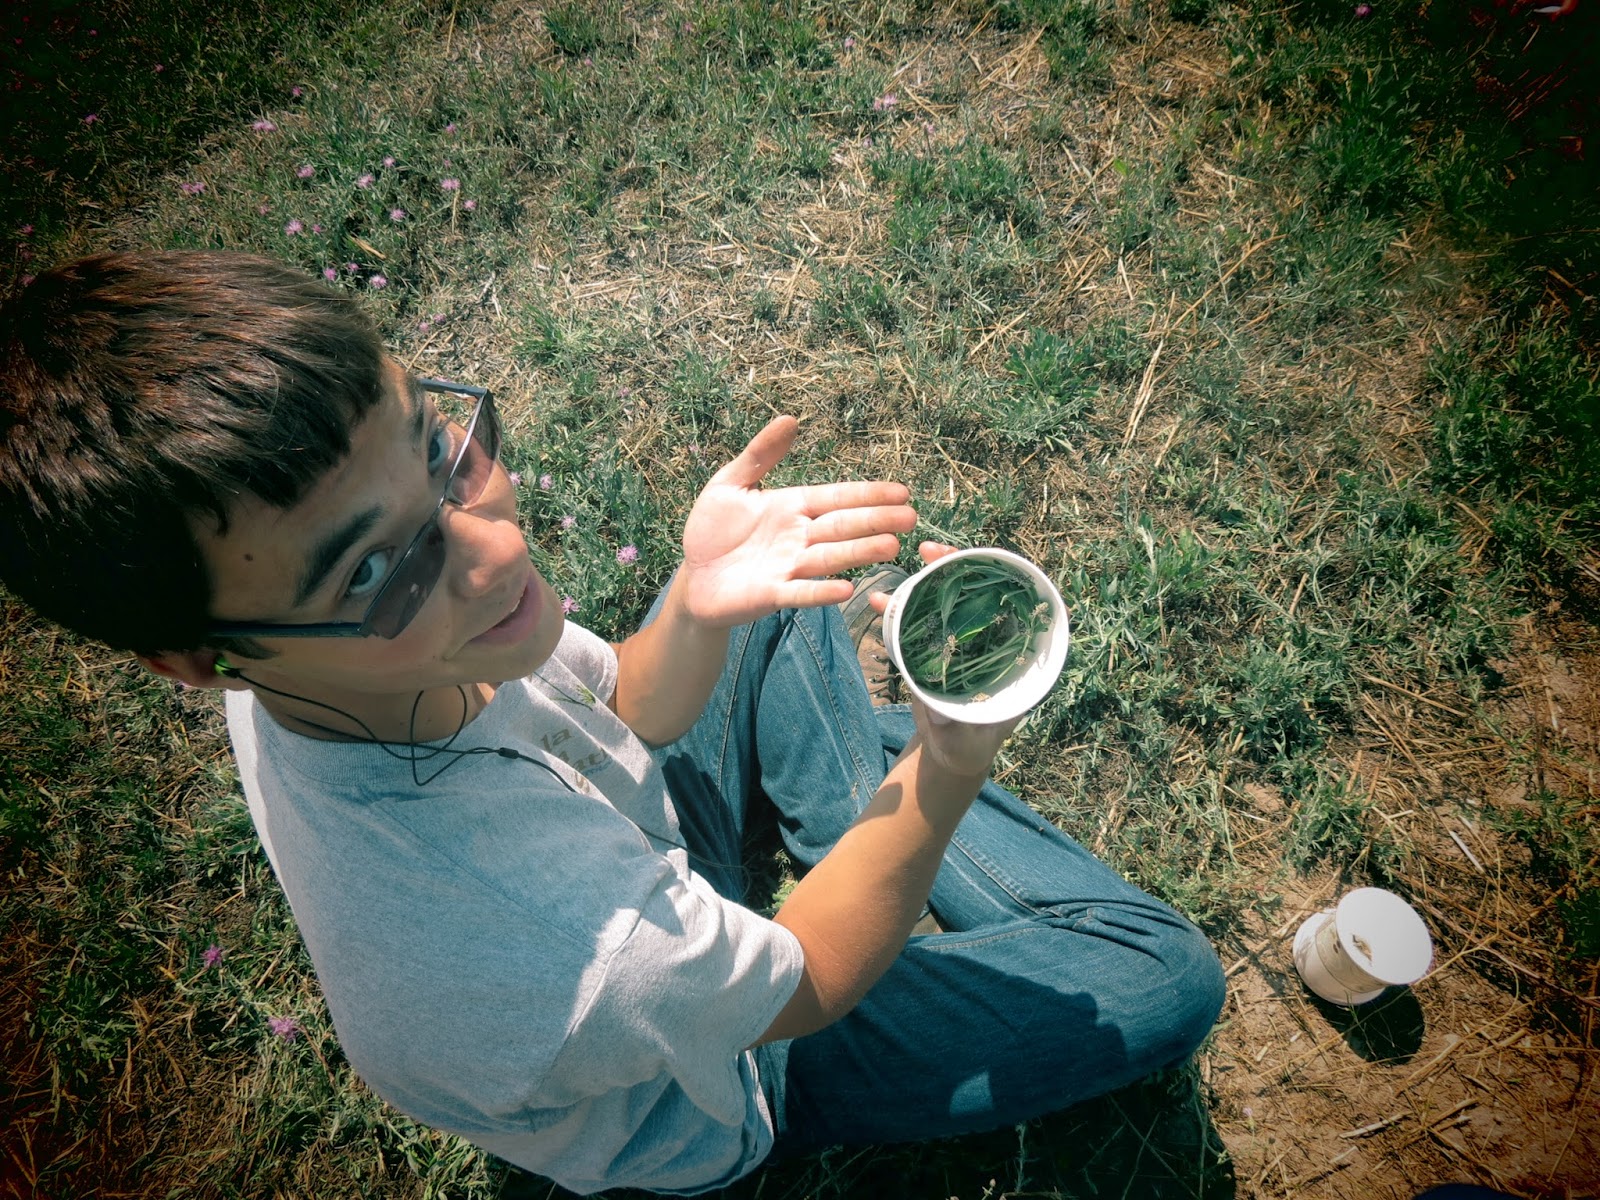
| Things are starting to take shape! Peter cuts plant stalks into tubes, Tyson saws logs, and Natasha slices bark rings to build compartments. |
4. Make the bee holes the right size and depth
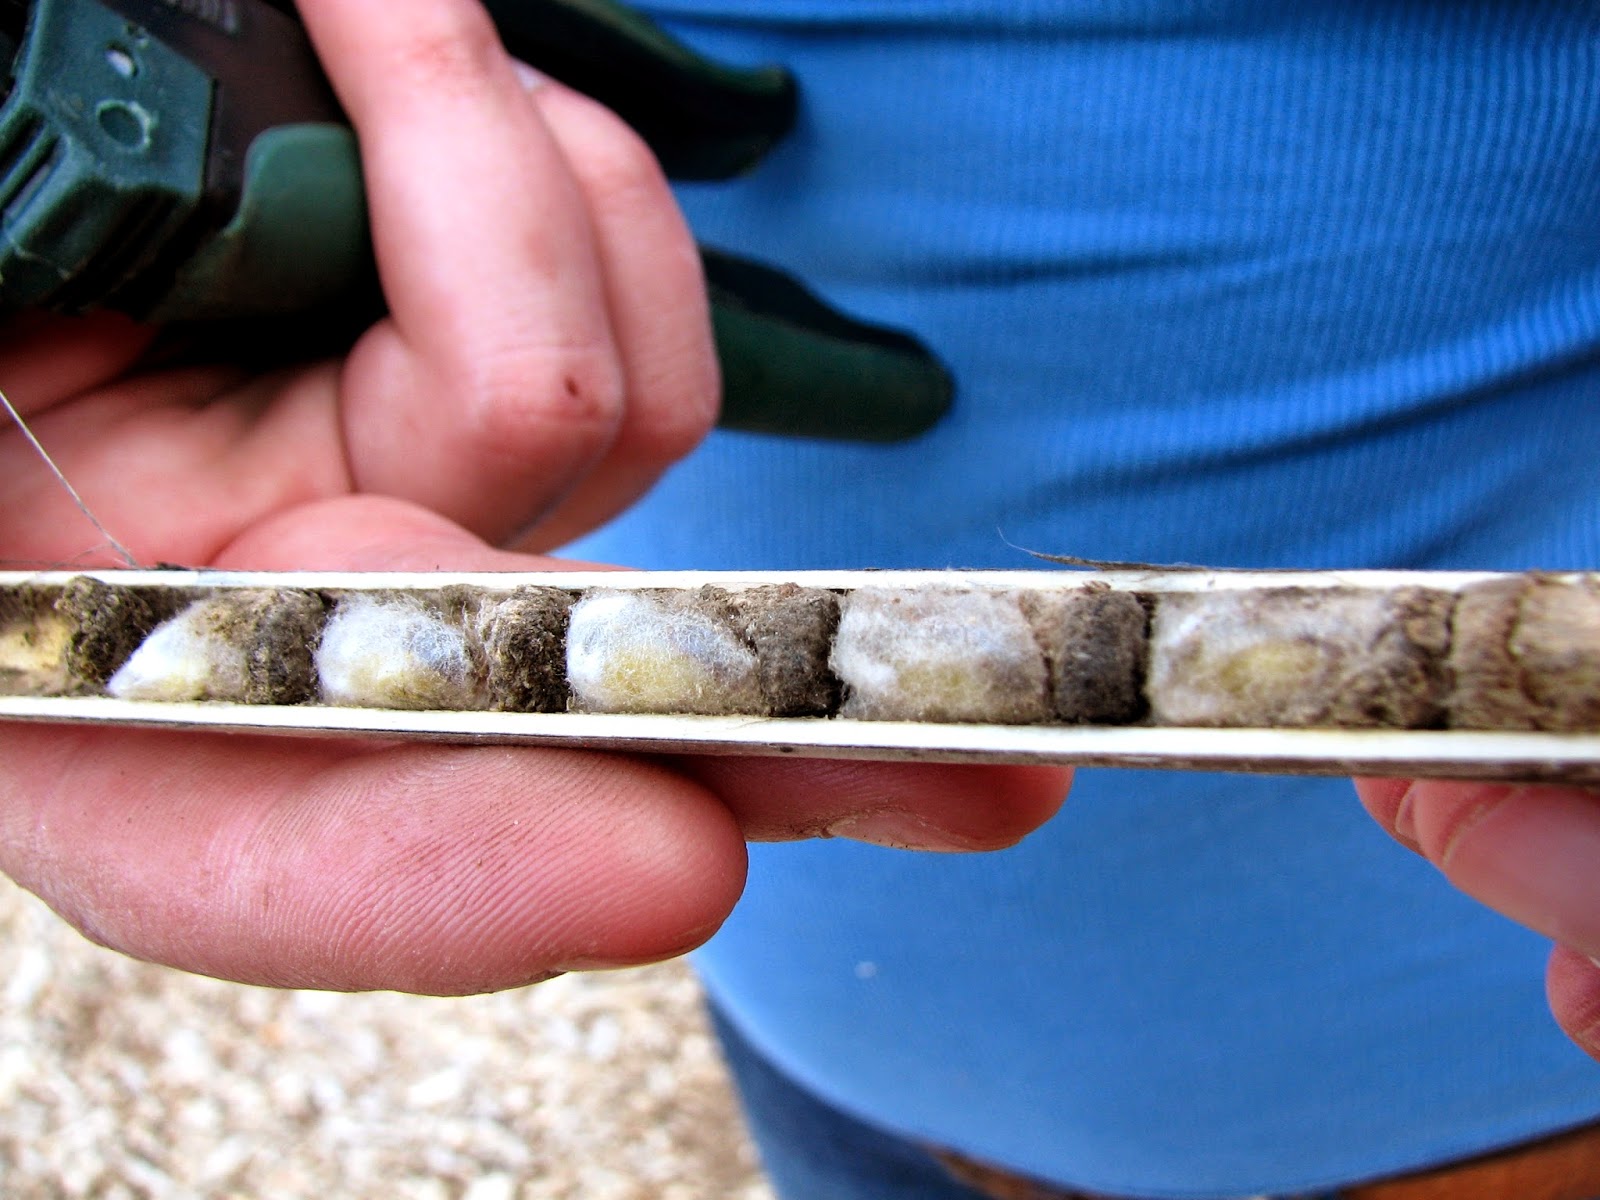 |
| Mason bee cells in a milkweed stem |
Tubes and drilled holes should be about 6" deep. This is important. Nesting mason bees will fill the first ~4" with female eggs, and cap each tube with a couple males. The eggs hatch into larvae, which pupate into adult bees at the end or the summer. The males emerge first (presumably to be offered up to any predators lurking outside the nest) followed by the females a couple weeks later. If your tubes are too short, you risk having all female eggs. Cavity nesting bees also avoid holes that are too deep, so try not to go over 8" or so.
There are thousands of species of wild bees...all different sizes and with varying preferences. When drilling holes or cutting tubes, the standard recommended diameter is 3/8". I've seen bees nest in holes down to 1/8" and as big as 5/8". I try to provide a variety of sizes, to see what different species I can attract.
 |
| Gathering tubes |
Finding hollow-stemmed plant materials can be tough. If you live in an area with bamboo, that works perfect. I try to use the previous year's dry stalks of Japanese knotweed (an abundant noxious weed), Fuller's teasel (a pain to process, with all the prickles), Queen Anne's lace, milkweed, elderberry, even corn stalks. Remember that many species have nodes that go all the way through the stem, so these parts need to be cut out or placed towards the back of your hotel.
5. Protect it
Besides choosing a sheltered location, it helps to put some sort of slanted roof on so rain rolls off. And if you're worried about birds, squirrels or deer getting into your nesting materials, put some small-gauge chicken wire over the front entrance.
6. Maintain it over time
If you're using straw, dry grass or other decomposables, clean out the compartment and replace with fresh materials each spring. In the case of bee cavities, mites and other pests can build up if the tubes aren't cleaned out periodically. Once every four years or so you'll want to scrape out debris with a poker or replace the tubes entirely. Some people recommend spraying the holes with a 5-10% bleach solution to kill mites.
Keep an eye on your Pollinator Hotel. Over time, you'll have an idea of who lives where, what the most popular rooms are, and how well each material and arrangement is working. Experiment! Change it up. Have fun.
If you want to learn more about native pollinators, visit my Wild House of Bees page. Also check out this excellent compilation of insect habitats from Inspiration Green to see what people around the world are building. And please, post pictures of what you come up with!


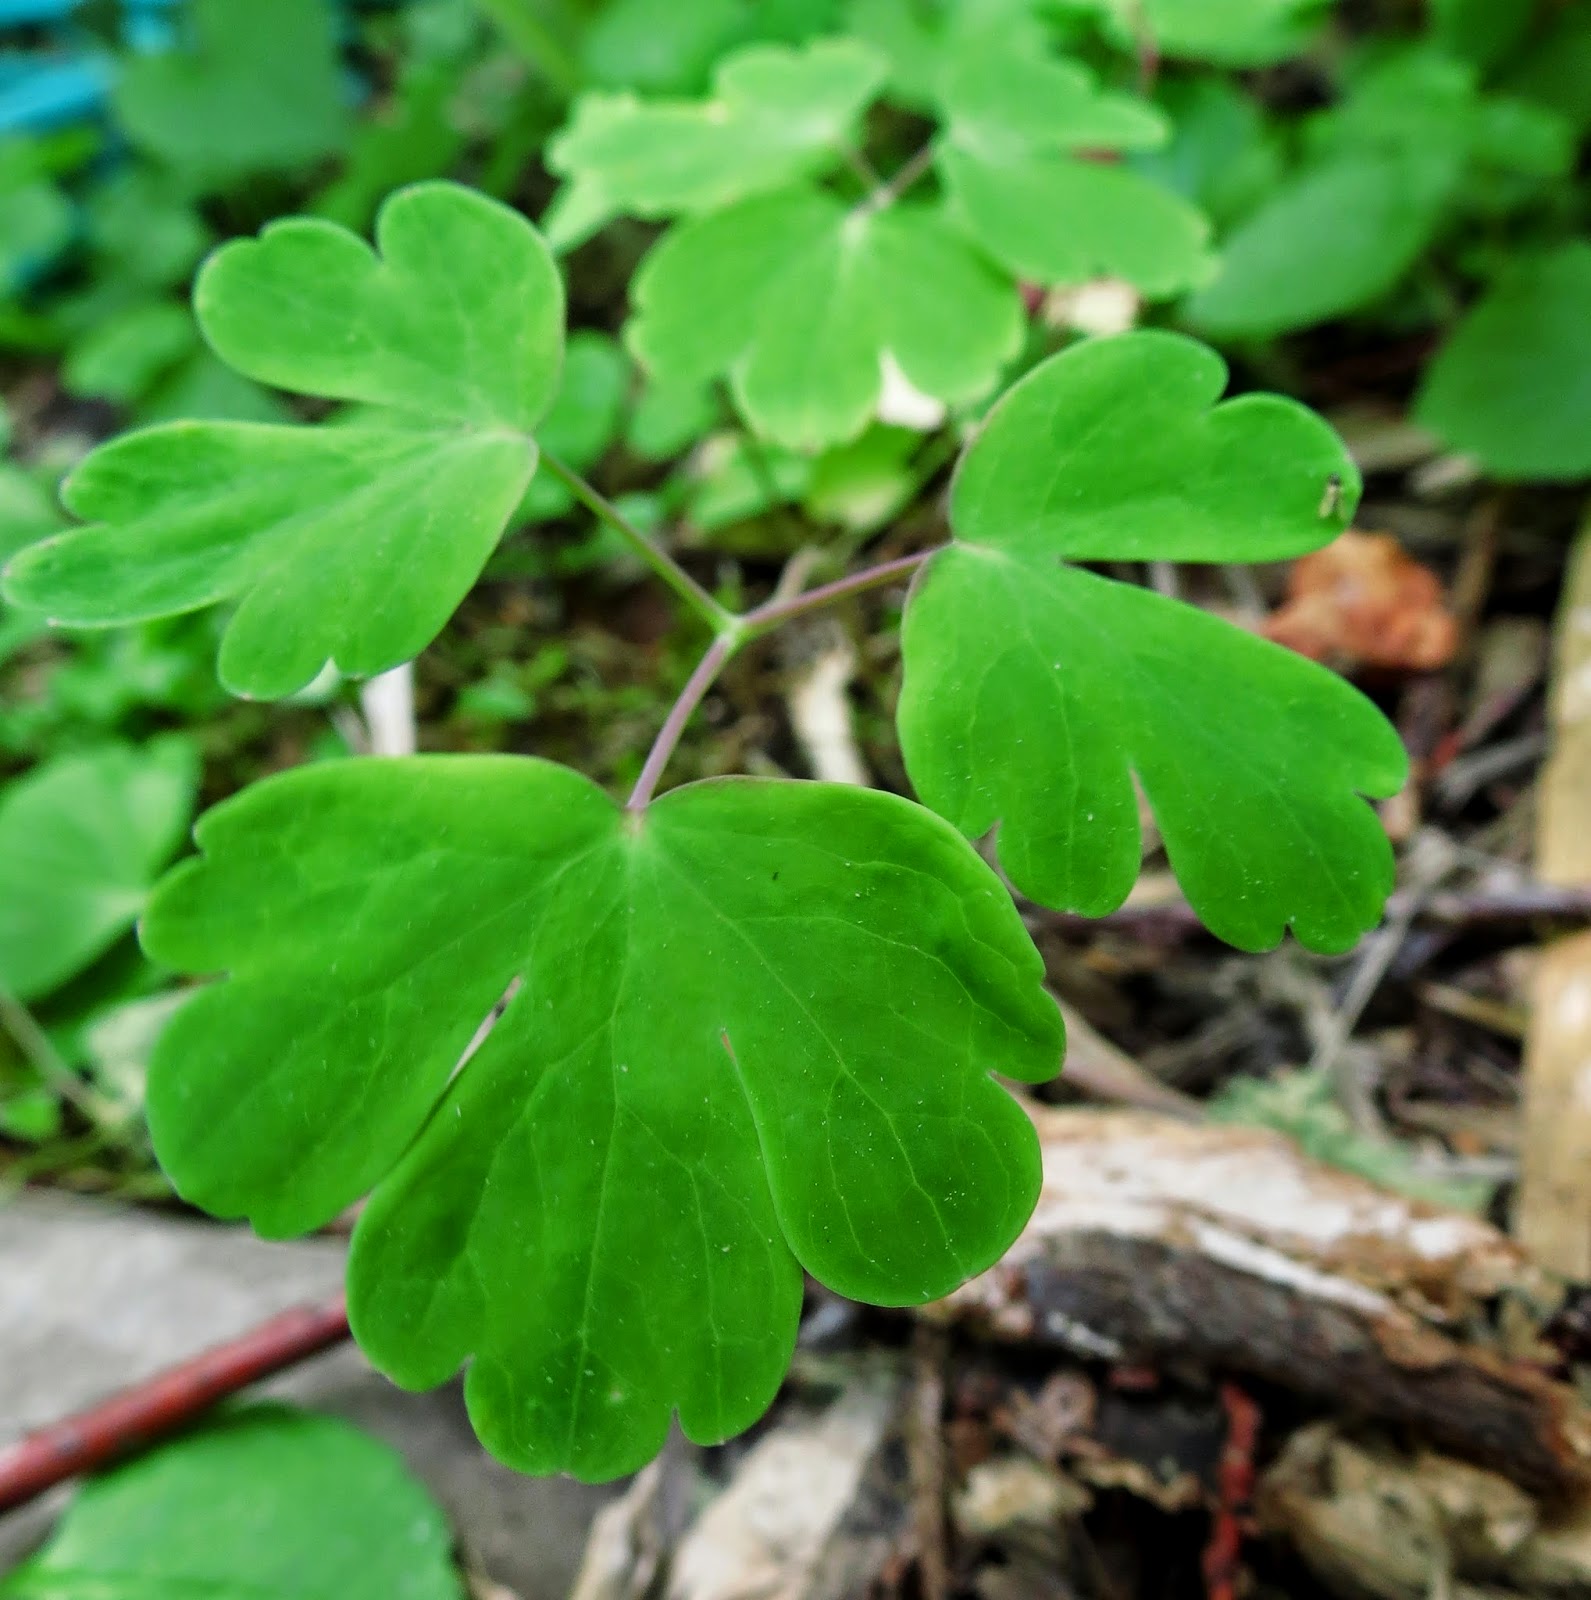


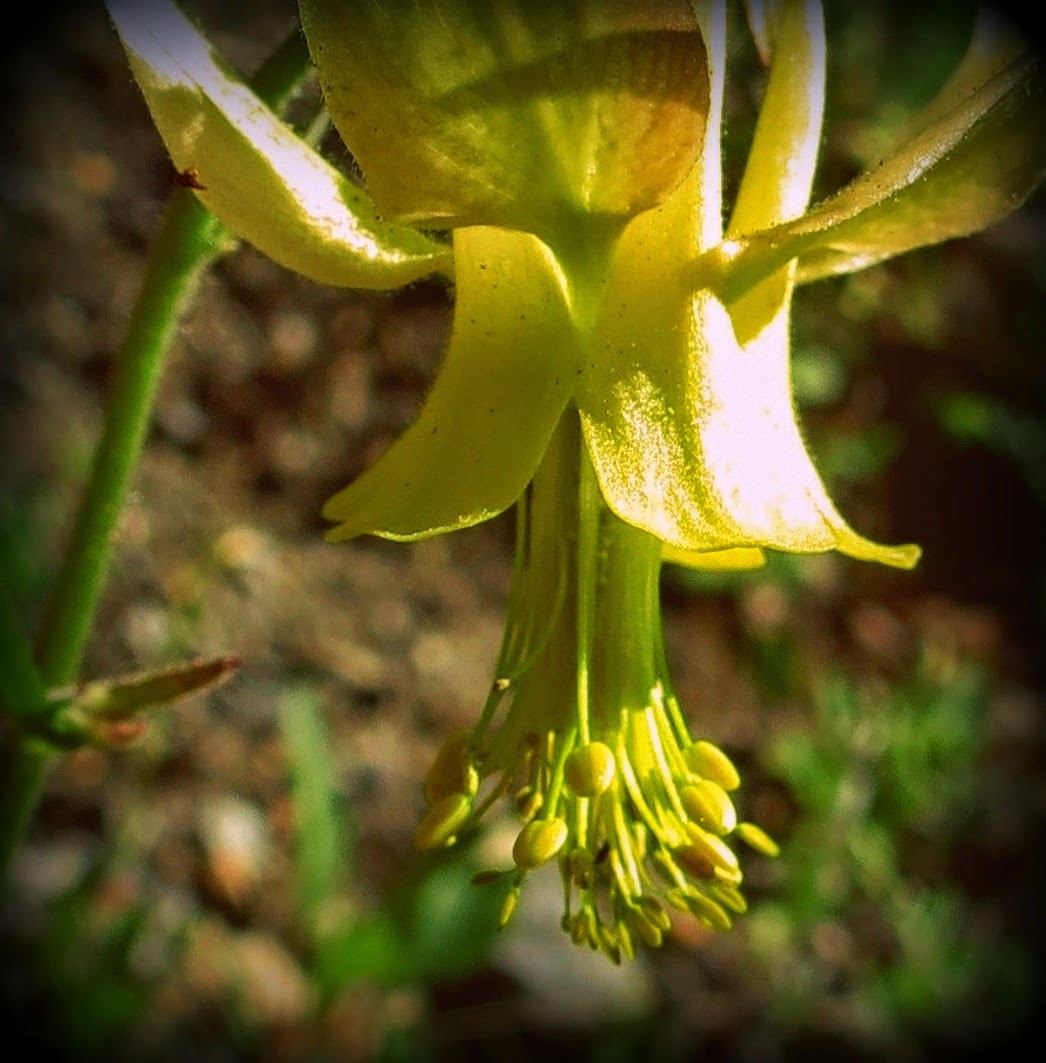
 This plant is totally named for its looks. Aquilegia probably comes from the Latin aquila, "eagle," for the spurs that look like talons. Other sources claim the genus is derived from aqua (water) and lego (to collect), for the spurs' resemblance to ancient water urns. The species name coerulea is quite common in the plant world, and means blue, while flavescens (and its equally common root flavens) means yellow. The name "columbine" itself comes from the Latin word for dove, columba. People say the flower looks like five little doves sipping from a water bowl together, tails poking towards the sky.
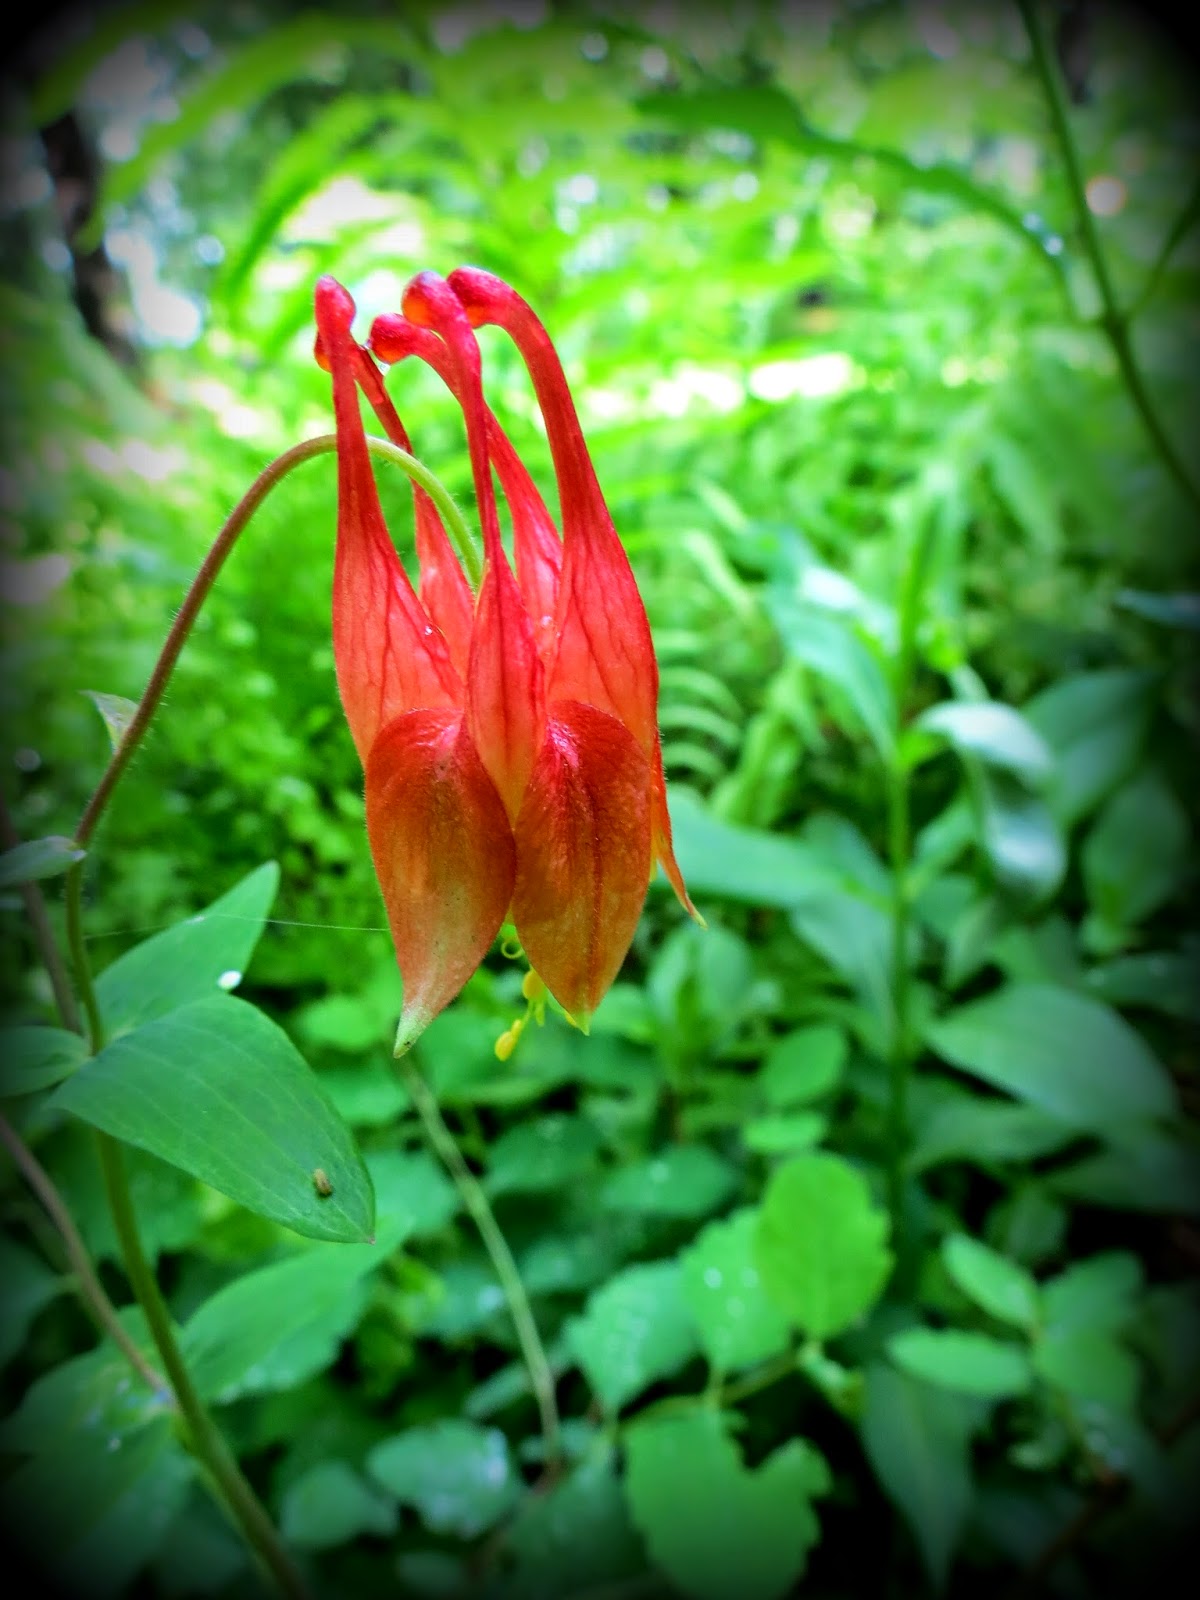


.jpg)


.jpg)
